The drum bearing is an important component of the tumble dryer drive system. After a period of operation, the bearing may become worn, generate abnormal noise or affect the smooth rotation of the dryer drum.
When replacement is required, the disassembly and installation process should be carried out correctly to avoid damage to the drum shaft, bearing housing and other related components.
The following are the basic steps for replacing a tumble dryer drum bearing.
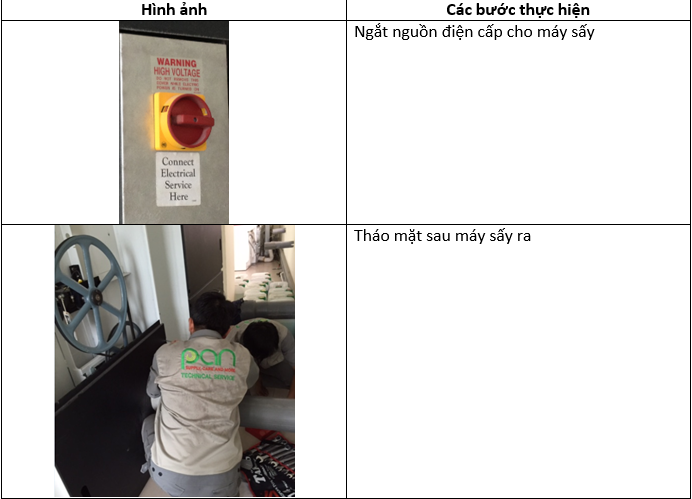
1. Disconnect the Power Supply
Before carrying out any maintenance or repair work, completely disconnect the electrical power supply to the tumble dryer. This is necessary to ensure operator safety and prevent the machine from starting during the maintenance process.
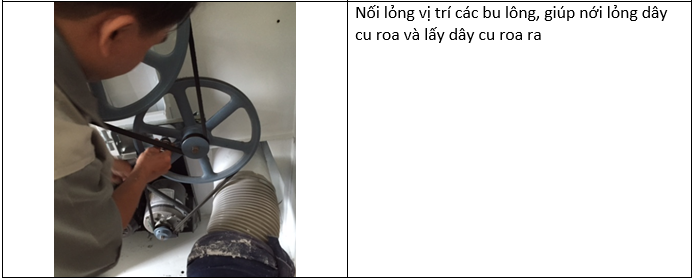
2. Loosen and Remove the Drive Belt
Loosen the relevant bolts to reduce the tension on the drive belt. Once the belt is sufficiently loose, remove it from the drive system to prepare for the next disassembly steps.
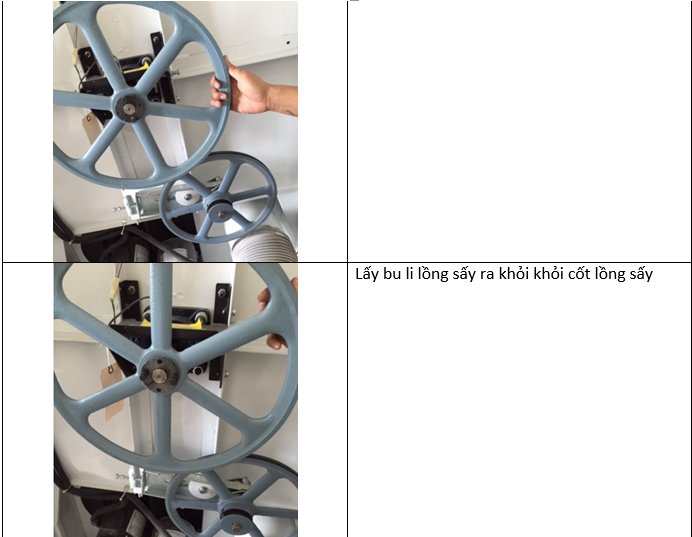
3. Remove the Dryer Drum Pulley
Remove the dryer drum pulley from the drum shaft. This operation should be performed carefully to avoid damaging the shaft or connected components.
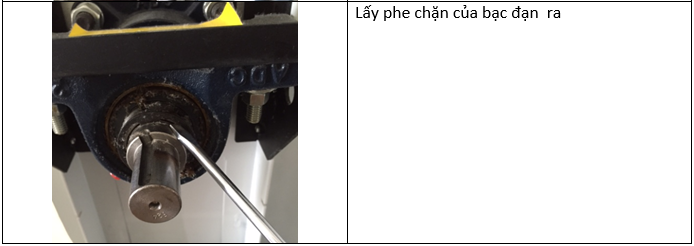
4. Remove the Bearing Retaining Clip
Remove the retaining clip that secures the bearing in position. This will allow the bearing housing assembly to be removed.
5. Remove the Bearing Housing and Encoder Components
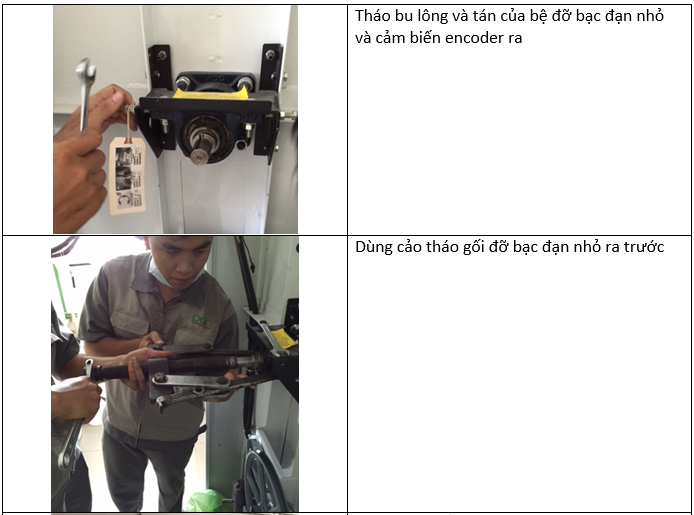
Remove the bolts and nuts securing the bearing support assembly. Any related components, including the encoder sensor where applicable, should also be removed to provide access to the bearing assembly.
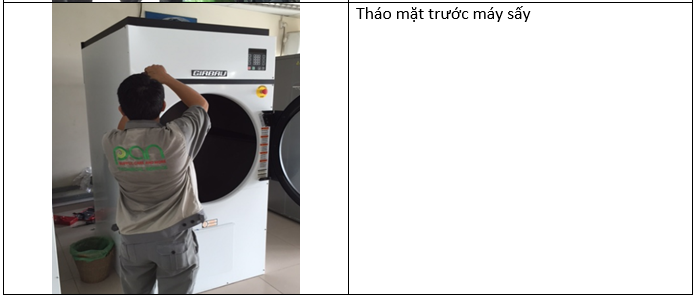
6. Remove the Front Panel of the Dryer
Remove the front panel according to the machine's construction to gain access to the dryer drum and bearing support system.
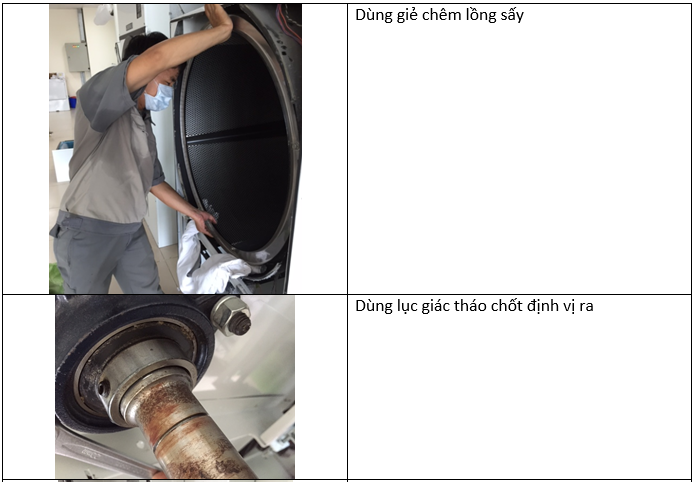
7. Secure the Dryer Drum
Use suitable soft material to support and secure the dryer drum during the removal process. This helps prevent unnecessary movement and reduces the risk of damage to surrounding components.
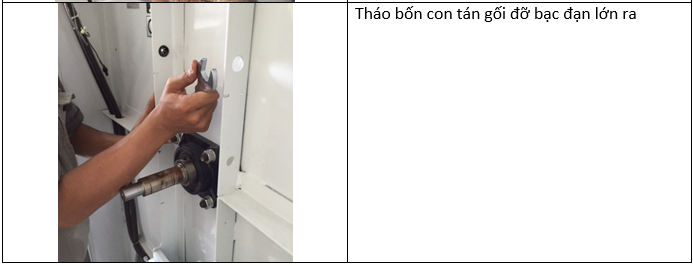
8. Remove the Bearing Housing Fasteners
Remove the four nuts securing the bearing housing. Once the fasteners have been removed, inspect the bearing support assembly before proceeding.
9. Remove the Bearing Housing and Bearing
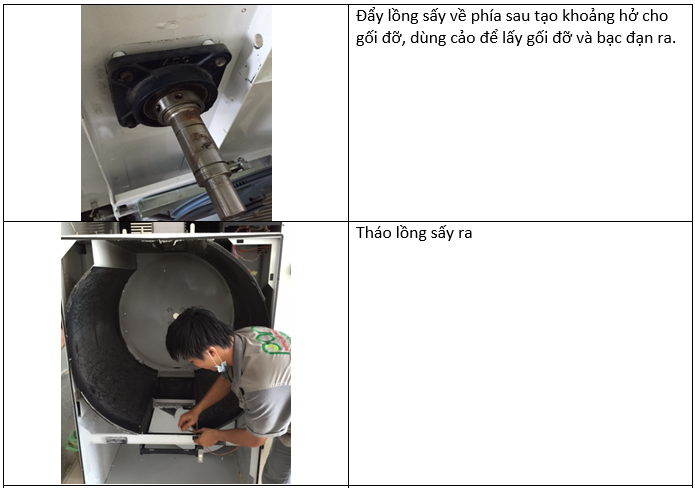
Move the dryer drum slightly towards the rear to create sufficient clearance for the bearing housing. Use an appropriate bearing removal tool to remove the bearing housing and bearing from their installation position.
10. Install the New Bearing and Reassemble the Dryer
Before installing the new bearing, inspect the drum shaft, bearing housing and related components. The reassembly process should then be carried out in the reverse order of disassembly.
After reassembly, check all connections, the drive belt and the drive system before carrying out a test operation.
Important Notes
- Always disconnect the electrical power supply before maintenance or repair.
- Use suitable tools to avoid damaging the bearing, shaft or bearing housing.
- Inspect the drive belt, pulley and related components during the maintenance process.
- Use a replacement bearing with the correct specification for the machine.
- Check the stability and rotation of the dryer drum after reassembly.
Drum bearing replacement should be performed by qualified technicians who understand the construction and technical requirements of the specific dryer model. Incorrect procedures may affect the drum shaft, drive system and overall machine operation.
Contact
PAN TRADING JOINT STOCK COMPANY
📞 Hotline: (+84) 28 3840 2222 | 0919 302 879
📧 Email: contact@pantrading.vn
🌐 Website: pantrading.vn | thietbigiatcongnghiep.com
📍 Address: 142 B2 Street, Sala Urban Area, An Khanh Ward, Ho Chi Minh City, Vietnam